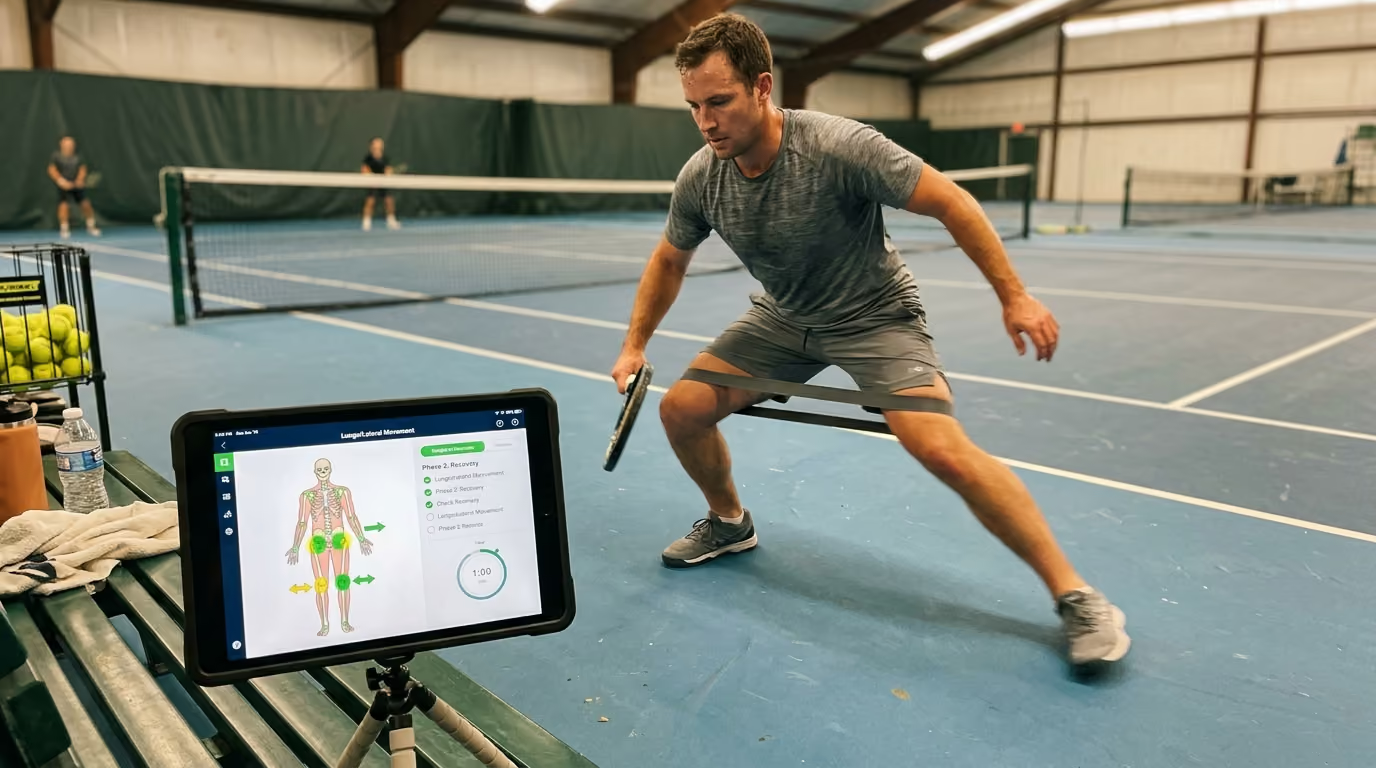

Returning to the court after a break requires a strategic mobility and movement plan to safely rebuild physical readiness and prevent injury.




Many players believe that resting during a break completely restores their physical readiness for the court. In reality, a period of inactivity often leaves your muscles, tendons, and joints unprepared for the rapid, multi-directional demands of competitive play. To return safely, you must gradually rebuild your movement quality, movement volume, and movement speed before jumping into a full match.
When you step away from the court, your body begins to adapt to a lower level of physical stress. This process of detraining happens much faster than most players realize. According to classic sports medicine research, even a short break of two weeks can lead to measurable declines in physical capacity. A study published in the Journal of Applied Physiology showed that fourteen days of detraining caused significant reductions in cardiorespiratory fitness, maximal stroke volume, and knee-extensor strength. While you might feel fully rested, your system has lost some of its ability to produce and absorb force.
I remember finishing a tough two hour padel match on a cold Tuesday night and waking up the next morning feeling like my lower back was locked in concrete. For a long time, I just accepted this as the price of playing hard in my forties. But once I started spending just ten minutes on targeted hip mobility before heading to the club, the stiffness almost completely vanished. It taught me that we do not have to accept pain as a default state of athletic longevity.
The physical cost of a break is not uniform across all tissues. Cardiovascular endurance and explosive power tend to decline relatively quickly. In contrast, basic muscular endurance is often preserved for a slightly longer duration. This mismatch creates a false sense of security. You might have the cardiovascular stamina to run for an hour, but your tendons may lack the springiness required to land safely.
Furthermore, your nervous system experiences a form of rust during a break. You might find yourself taking extra steps before a turn, landing with stiff joints, or reacting late to an opponent's shot. These coordination errors increase the physical stress on your joints. When you return after an illness, the detraining effect is often compounded by systemic inflammation. A safe return requires you to respect these physiological changes rather than trying to force your way back to peak performance on day one.
To rebuild your court presence without overloading your joints, you need a systematic framework. We recommend prioritizing movement quality before adding speed or unpredictable play. This approach helps your nervous system relearn efficient patterns under low stress.
Our team breaks this progression down into eight distinct stages. Each stage must feel comfortable before you advance to the next level.
Before you pack your court bag, evaluate your current physical state. Record how long you have been away and the reason for your break. Take note of any lingering stiffness, minor aches, or general fatigue.
Perform a simple baseline check in your living room. Walk at a comfortable pace for five minutes to warm up. Execute five bodyweight squats, five slow reverse lunges, and twenty seconds of single-leg balancing on each side. If any of these movements cause sharp discomfort, you are not ready for court-specific drills.
The primary goal of this phase is to restore basic ranges of motion. You want your joints to feel free and responsive during daily activities. Focus on active, controlled movements rather than aggressive static stretching.
Spend ten minutes twice a day working on gentle joint rotations. Excellent options include dynamic ankle circles, slow hip bridges, and gentle chest openers. You can find highly detailed routines in our guide to mobility and movement resources. Move within a pain-free range and avoid forcing any position.
Once your joints move freely, you must teach your muscles to control those ranges. Racquet sports require significant single-leg control and pelvic stability. This stage introduces basic resistance training to prepare your tissues for court impact.
Focus on slow, controlled tempos to build tendon resilience. Perform split squats, step-downs from a low box, and calf raises with a slow lowering phase. Keep your repetitions moderate and always leave a few reps in reserve. For more targeted joint support, explore our injury prevention resources.
Do not expect to transition from walking to sprinting without a transition phase. This stage focuses on straight-line running and controlled deceleration. Deceleration is highly demanding because your muscles must work eccentrically to stop your body weight.
Begin with simple walk-jog intervals on a soft surface like grass or clay. Gradually progress to short, straight-line strides at moderate speed. Practice accelerating for ten meters, then taking five meters to come to a smooth, balanced stop. This teaches your body to absorb force through your hips and knees rather than your lower back.
Jumping and landing generate forces that can equal several times your body weight. To prepare your joints, you must reintroduce these impacts in a controlled manner. Keep your training volume low and focus entirely on landing mechanics.
Start with simple snap-downs. Stand on your tiptoes with your arms overhead, then quickly drop into a shallow squat while swinging your arms down. Practice landing quietly with your knees aligned over your middle toes. Progress to small, two-foot hops before attempting single-leg landings.
Now you can bring your racket back into the equation. This stage combines movement patterns with basic skills but keeps the environment highly predictable. You should know exactly where the ball is going before you move.
Practice shadow swings without a ball to check your coordination. Next, perform easy, cooperative hitting drills with a partner who feeds the ball directly to you. This stage allows you to refine your timing and split-step without the stress of competitive play.
In this phase, you introduce mild unpredictability. Your partner can now hit the ball to different areas of the court, forcing you to adjust your positioning. However, the intensity should remain well below match play.
Focus on your footwork and maintain a relaxed grip on your racket. Limit these sessions to thirty minutes to prevent fatigue-related movement errors. Monitor how your joints feel during the hours following the session.
You are now ready to play competitive points, but you must still manage your exposure. Start with short, low-stakes sets rather than entry into a weekend tournament.
Pay close attention to your movement quality as you get tired. If your footwork becomes sloppy or your joints begin to ache, step off the court. True athletic longevity is built by knowing when to stop.
To support your return, use a menu of targeted drills that address the most common areas of restriction. Racquet sports place immense demands on your ankles, hips, thoracic spine, and trunk. Incorporate these movements into your daily routine or use them as a pre-court preparation routine.
Your ankles and feet are your only point of contact with the court surface. If your ankles lack mobility, your knees and lower back must absorb the extra impact.
To perform Knee-to-Wall Ankle Rocks:
To perform Split-Stance Dorsiflexion:
To perform Slow Calf and Soleus Raises:
Your hips must rotate efficiently to power your groundstrokes and protect your lower spine. A lack of hip rotation often leads to excessive twisting in the lower back.
To perform 90/90 Hip Transitions:
To perform Supported Hip Airplanes:
To perform Adductor Rock-Backs:
A mobile mid-back allows you to rotate your upper body freely. This rotation is essential for serving, hitting overheads, and reaching for wide balls.
To perform Open-Book Rotations:
To perform Quadruped Thoracic Rotations:
To perform Wall Slides:
Your trunk acts as a bridge, transferring energy from your feet up to your racket. Dynamic stability in this region helps you maintain balance during rapid direction changes.
To perform the Dead Bug:
To perform the Side Plank:
To perform the Bear Crawl:
While all racquet sports share some movement patterns, each has unique physical demands. Understanding these differences allows you to customize your return plan. Tailoring your approach to your specific sport helps you avoid common overload injuries.
Tennis is characterized by large court dimensions, which require longer acceleration and deceleration phases. Players must frequently cover long distances and slide or plant aggressively to change direction. The rotational load on the lower back and shoulders is exceptionally high during groundstrokes.
When returning to tennis, prioritize straight-line running, high-speed braking, and thoracic rotation. Your movement plan should include progressive strides over twenty meters to build tolerance for high running speeds. Spend extra time preparing your shoulder complex for the high-velocity demands of serving. For more tennis-specific strategies, visit our collection of tennis articles.
Pickleball features a smaller court, which reduces the need for long sprints but drastically increases the frequency of short, explosive steps. The game requires a low athletic stance, especially during dinking exchanges at the non-volley zone line. This constant crouching places high demands on your knees, hips, and lower back.
Your pickleball return plan should emphasize deep hip mobility and quad strength. Focus on drills like deep split squats, lateral shuffles, and quick reaction steps. Rebuilding your ability to sit comfortably in a low squat will protect your lower back from excessive bending. Learn more about managing these unique demands in our pickleball articles.
Padel is played in an enclosed glass cage, which creates highly dynamic and unpredictable play. Players must cope with rapid changes of direction, frequent overhead tracking, and lunging into tight corners. The glass walls require you to read spin and adjust your footwork constantly.
To prepare for padel, focus heavily on multi-directional movement, overhead shoulder stability, and ankle control. Your movement plan should include curved running, backward stepping, and rotational balance drills. This preparation ensures you can react quickly when the ball rebounds off the glass. Explore our dedicated padel articles for advanced court tips.
Many players fall into predictable traps when returning from a break. Recognizing these mistakes before you step onto the court can save you weeks of frustrating setbacks.
A common mistake is assuming that general gym strength translates directly to court readiness. You might feel strong during leg presses or barbell squats, but these movements do not prepare you for the sudden forces of cutting. Gym exercises are highly predictable, whereas court play requires you to react to an opponent's shot under time pressure.
In our experience, players who jump straight from the gym to the match often struggle with joint soreness. Your muscles may have the capacity to produce force, but your tendons need gradual exposure to impact. Always combine your strength training with light jumping and landing drills before playing a match. You can read more about balancing these elements in our strength and conditioning resources.
Many players spend fifteen minutes performing static stretches on the sideline, believing it will prevent injury. While static stretching can temporarily increase your passive range of motion, it does not improve your active joint control. In fact, prolonged static stretching can temporarily reduce your muscle's ability to produce explosive power.
Instead of passive stretching, focus on a dynamic, active warm-up. Move through your ranges of motion with control to prime your nervous system. Pair any passive mobility work with immediate strength exercises to teach your brain how to use that new range.
The most dangerous way to test your physical readiness is by playing a highly competitive match. In a close game, your competitive drive will always override your physical limits. You will slide, dive, and sprint for balls that your body is not yet prepared to handle.
Save the competitive matches until you have completed several controlled practice sessions. If you cannot move cleanly during a solo drill, you will not move safely during a match. Patience during the first two weeks of your return pays massive dividends for your athletic longevity.
A successful return plan relies on managing your overall workload without relying on rigid formulas. While some coaches recommend the classic ten percent weekly increase rule, sports science research suggests this rule is too simplistic. A review published in the British Journal of Sports Medicine criticized rigid workload ratios, noting they fail to account for individual fitness, sleep quality, and daily stress.
Instead of tracking numbers blindly, we suggest monitoring how your body responds to each session. Track both your session intensity and your physical state the next morning. Use this practical traffic-light system to guide your training decisions.
To dive deeper into the physiology of tissue adaptation and rest, examine our recovery science resources.
While a gradual return plan works well for most players, some situations require expert guidance. Attempting to push through certain physical signals can turn a minor strain into a chronic injury.
Consult a qualified healthcare provider, such as a physical therapist or sports medicine physician, if you experience any of the following warning signs:
A professional can perform objective strength and balance tests to ensure your body is truly ready for the demands of court sports. They can also design a personalized program to address your specific weaknesses and keep you playing safely for years to come. For more information about our research-led approach to movement safety, visit our about page or reach out through our contact page.
By prioritizing joint control and patient progression, you can safely navigate the transition back to the court and enjoy your favorite racquet sports for years to come.
Follow Evercourts for practical insights on tennis, pickleball and padel performance, movement, recovery and healthy ageing. Stay connected for new articles, research-led guidance and ideas to help you play well and keep playing for years.


Read practical guidance for better movement, smarter preparation and a game that keeps working for you.
explore the Blog



